Network Synergy Blog
Tip of the Week: How to Download Your Favorite Windows 10 Lock Screen Images
Unlike previous versions of Windows where lock screen images are pulled from a local folder with a few ho-hum stock photos in it, Windows 10 gets its lock screen images from a built-in feature called Windows Spotlight.
Unfortunately, due to the way that Windows Spotlight is set up, downloading an image from Spotlight isn’t as easy as opening a folder and dragging and dropping what you like. However, despite the fact Windows Spotlight isn’t very user friendly, navigating the feature to locate and download the photo you want is possible.
To get started, open Windows Explorer and click on the View tab (located to the right of Computer). Next, be sure to check both boxes for File name extensions and Hidden items.

Now you’ll copy and paste the file directory provided below into the Windows Explorer file path.
C:\Users\username\AppData\Local\Packages\Microsoft.Windows.ContentDeliveryManager_cw5n1h2txyewy\LocalState\Assets
In the file path, replace “username” with your user name and then hit Enter. This will take you to a window populated with files. These are the files that have been utilized by Windows Spotlight.
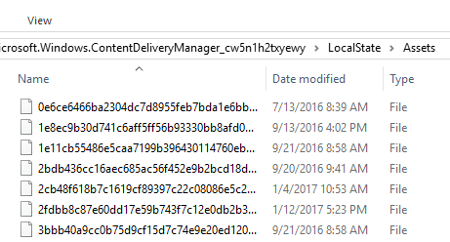
In order to put the photos at the top of this list, select the Size tab.
Next, make a new folder somewhere on your drive for you to move these Windows Spotlight images to, like on your Desktop or Pictures, and then open your new folder.
You will now want to move these photos to your new folder so you can sift through them and use them for however you please. Do this by selecting all the files greater in size than 100KB. Perform this task by selecting the file at the top of the list, then, while holding the Shift key, scroll down and select the one file that is greater than 100KB. With 30 or so files selected, you will next copy these files (Ctrl+C), and paste them in your new folder (Ctrl+P).
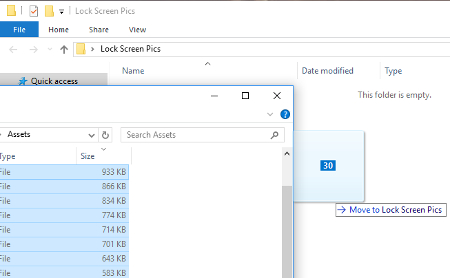
This move will bring up a prompt by Windows Security.
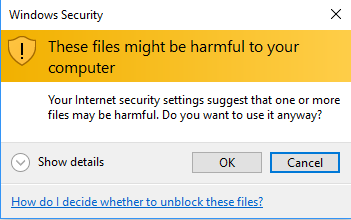
Go ahead and select OK. You don’t have to worry about these files harming your computer, since they’re already on your computer.
Now, with the files copied in your new folder, you’re going to want to rename each one and add a file extension to them so you can see what they are. Do this by right clicking the file and then selecting Rename.
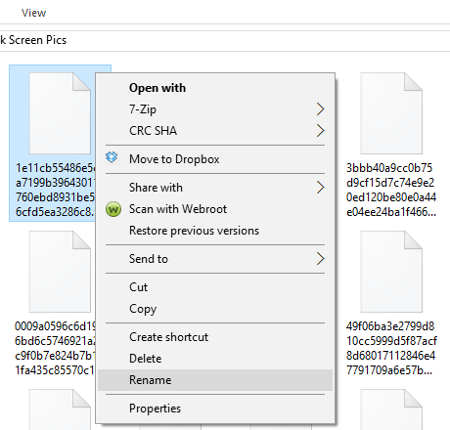
By renaming the file to something simple like 1.PNG and then selecting Enter, you will see the icon for the file change to that of a photo. Also, go ahead and click View > Large icons if this makes renaming files more manageable for you.
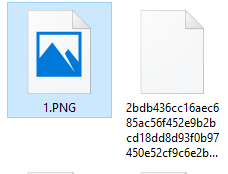
With the file format changed, go ahead and double click the file to open it and reveal the image. With the image revealed, go ahead and name your file accordingly. Also, with the file saved on your PC, you can now access this folder and use these photos for however you fancy; like for your PC’s wallpaper, sharing over social media, memes, or whatever else you can think of.
Admittedly, this is a lot of work to go through in order to locate and isolate a photo that’s caught your eye. Although, when it comes to great art, they say that procuring it is half the fun!
For more great PC tips and tutorials, subscribe to Network Synergy’s blog.




Comments